In this post, I’ll talk about the Knit search results display and how you can customize it further to quickly find the file, email, post etc. that you searched for. This is the 3rd part of my blog series related to finding your personal digital content. Other posts in this series include:
Part 1: Intro to the search problem and Advanced Search.
Part 2: Quick Search and its powerful search syntax.
Part 3: this post – Customizing the search results display.
Part 4: Other ways to find your content.
Part 5: Integration with other tools & next steps.
Knit Search Results Display
In Part 1 and Part 2 of this blog series, I discussed how to issue a search from Knit. Once you issue the search, Knit will open a new window to display the search results. An example result windows looks like this:
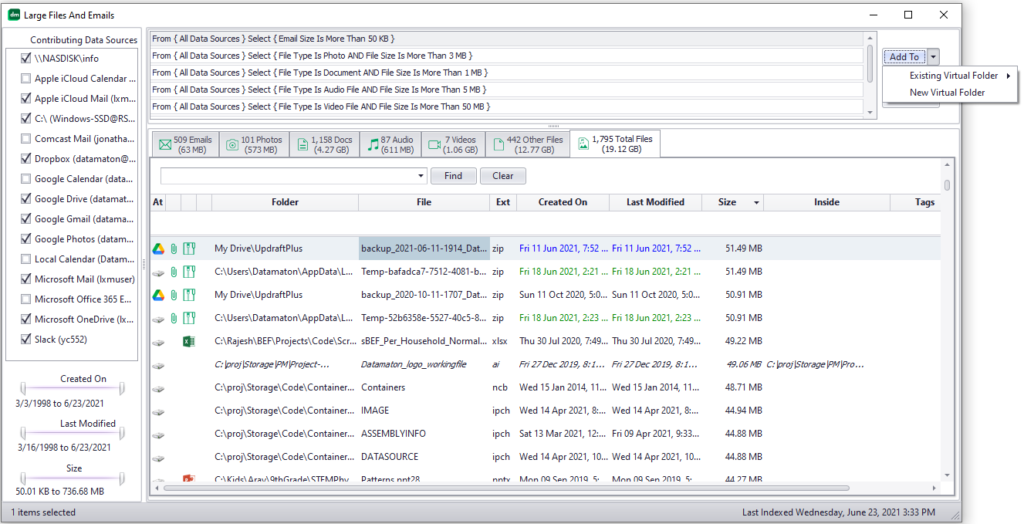
The Knit search results display has many different parts, as shown below:
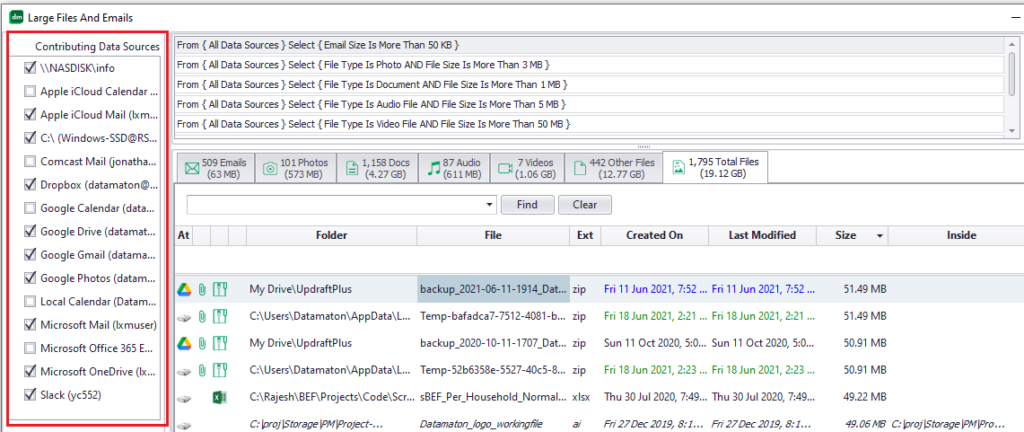
Storage Locations Returning Results
The left pane shows all the storage locations that Knit has indexed. Locations where the search actually found matching are shown as checked (selected). Un-select a contributing Data Source to remove its results from the display. Select it again to add them back in.
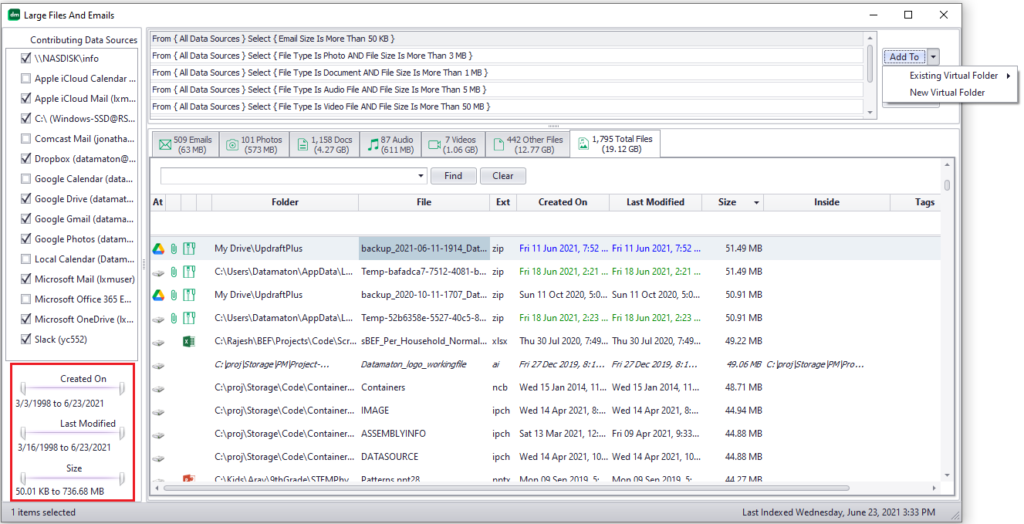
Size & Date Ranges Of Results
Sliders at the bottom left corner show the range of dates and sizes of the content displayed in the search results. As you change the position of these sliders, the search results displayed will adjust to only show results that fall in the updated range.
The Actual Search That Was Run
The top part of the right-hand pane shows the search that was conducted.

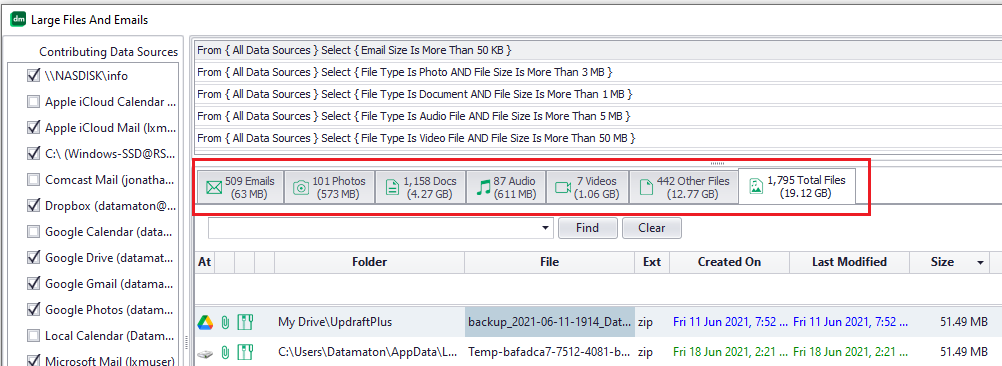
Tabbed Results Display
The bottom part of the right-hand pane shows the search results. Different tabs show documents, photos, videos, emails, social media posts, appointments etc. Thus, you can go directly to the tab corresponding to the content type you’re searching for.
Sorting Results
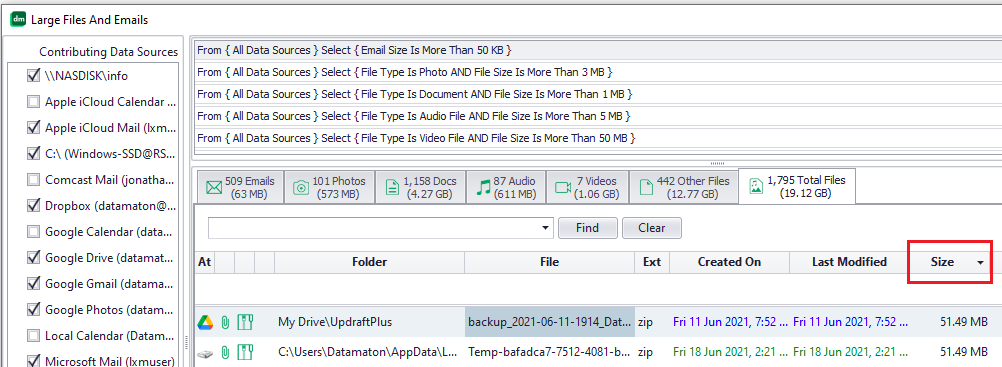
You can sort the results shown in any tab by date, size, file/folder name etc. A small arrow next to the column name indicates how results are currently sorted. For example, the picture below shows results were sorted in decreasing order of “Last Modified” date. Therefore, you’ll see the newest content first in this results display. You can click on the column header text of any column to sort the results on that property. Click on the same column header again to change the order from “decreasing” to “increasing”.
Searching The Search Results
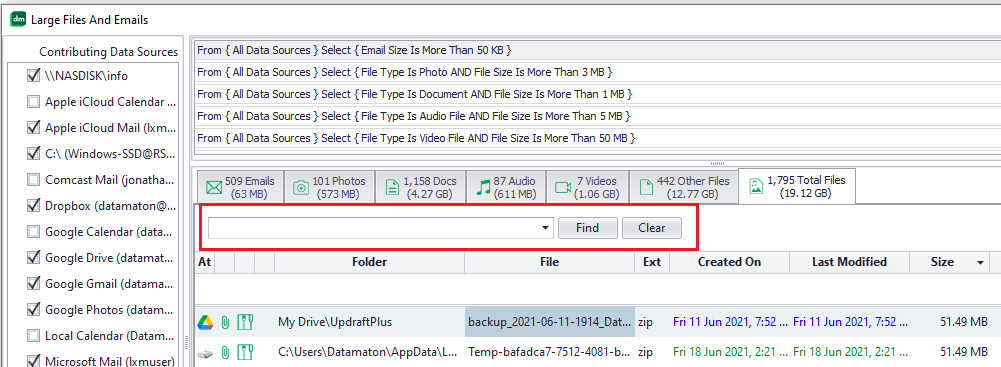
Sometimes, a search returns too many results and you may need to search further within them. Each tab has its own search box at the top left corner of the actual results. The display will highlight and only show content that contains the text you type in this search box. This is handy if your search returns a lot of results and you want to find your content within a tab by searching for it.
Filtering The Search Results
There’s a per-column “filter row” in each tab. This is the empty space just below the column header circled in red in the picture below. When you type something here, the results display will only show content that contains this text in that column. Each column has it’s own filter space and capability. For example, you can type work in the file-name column and doc in the file-extension column. This will restrict the results display to only include files whose name contains the text work and whose file extension contains the text doc.

Identifying Where The Content Resides
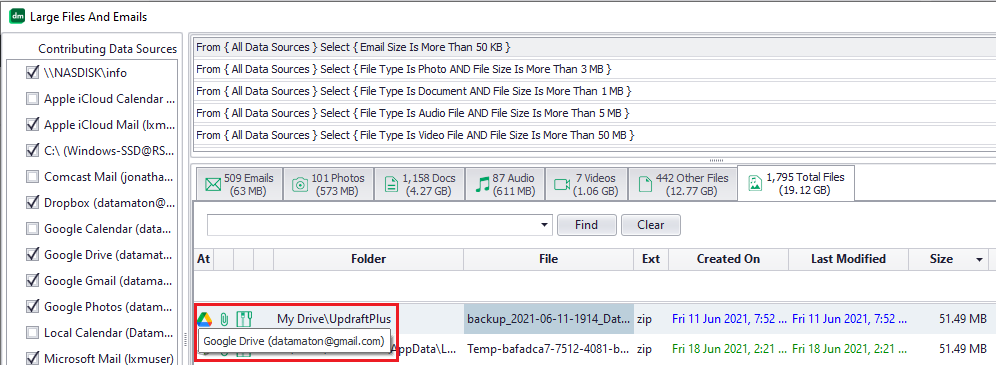
The icon at the left end of each row shows the storage location where that content resides. Hover over this icon to see more details – for example the actual email address of the Google Mail account where the content resides. This helps you identify where the content resides, if you have multiple GMail accounts.
Identifying Embedded Content
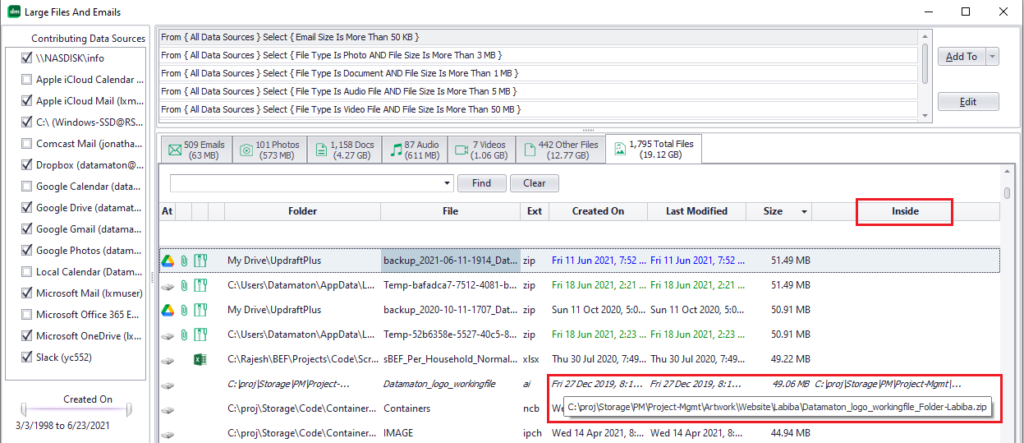
The “Inside” column shows information about the parent ZIP file or email within which it resides.
Identifying Embedded Content
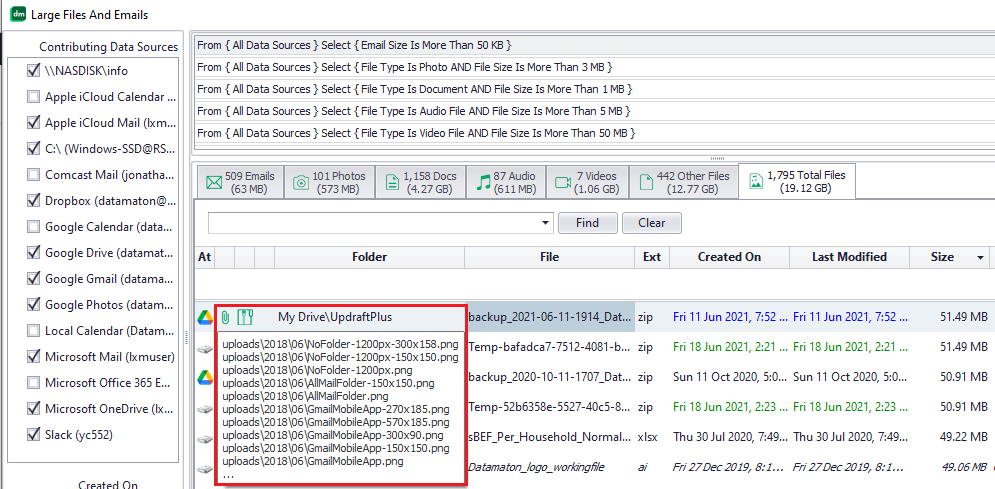
ZIP files, ISO files etc. can have other files embedded inside them. Knit will show them with a pin attachment icon. If you move your mouse over to the pin icon and hover over it, Knit will show the files embedded inside. If there are too many of them to display, it will display the first few and a “. . .” to indicate this.
Converting The Search To A Virtual Folder
There’s a “Add To” button at the top right corner of the screen. It lets you add this search to an existing Virtual Folder, or create a new one.

Learn more about Knit or download the free, trial or paid version. Contact Us if you have any questions.
